When To Fertilize Garlic [Garlic Growing Tips]
![When To Fertilize Garlic [Garlic Growing Tips]](/wp-content/uploads/2021/06/when-to-fertilize-garlic-00.jpg)

About the Author: Jeremy Starke
I've been growing vegetables since I was 12 — over 30 years in the dirt. I share what actually works in my own Zone 6b garden, and what I wish someone had told me when I started.
Zone 6b · North Carolina · Gardening since age 12Best Times On When to Fertilize Garlic
Garlic cloves are an essential ingredient in many dishes, including stews, vegetable dishes, salad dressings, and meat dishes. We would not love the taste of garlic butter on top of a hot steak or garlic toast served alongside a hearty chicken and vegetable soup.
But before we get the taste of this delicious vegetable, the garlic plants take around 180-210 days to mature and produce fully grown garlic bulbs.
So, it’s essential to fertilize the garlic plant for this extended development period to maximize bulb growth.
When To Fertilize Garlic
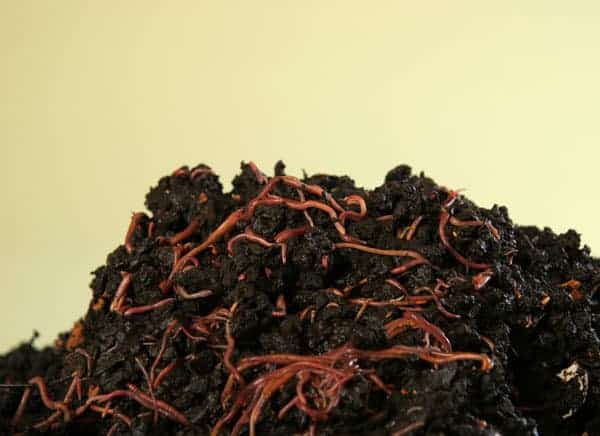
Garlic is a heavy feeder and needs well-drained soil that is rich in nutrients to grow properly. It’s essential to prepare your soil by adding fertilizer and compost prior to planting.
Adding fertilizer will ensure you have enough soil nutrients. You can add compost amendments, 1-2 pounds of all-purpose fertilizer, or 10-10-10 fertilizer per 100 square feet of garden soil.
Additional fertilization of garlic is recommended in spring when scapes start to appear. By this time, the plants are growing 4- to 6-inches tall. Check the phosphorus level. If there is enough phosphorus, use blood meal or synthetic nitrogen fertilizer as a source of nitrogen instead of balanced complete fertilizers.
Nitrogen encourages leaf growth and subsequent bulb development. Avoid watering too much or over-irrigating the garlic plant because it can remove nutrients.

Soil Testing
To avoid guesswork in fertilizing your vegetable garden. It’s best to do soil testing to measure soil fertility. It does not matter if your garden is big, small, or you’re using organic methods.
A soil test will help you determine how much fertilizer you need. You can send your soil samples to labs in your state or across the U.S. or Canada.
Follow the nitrogen, phosphorus, and potassium recommendations in your soil test. Garlic has a moderate to high demand for nitrogen.
Testing for soil acidity level is also essential. The most favorable soil pH for garlic is between 6 and 7 pH levels. If it’s lower than 5.8 pH, it’s recommended to use lime.
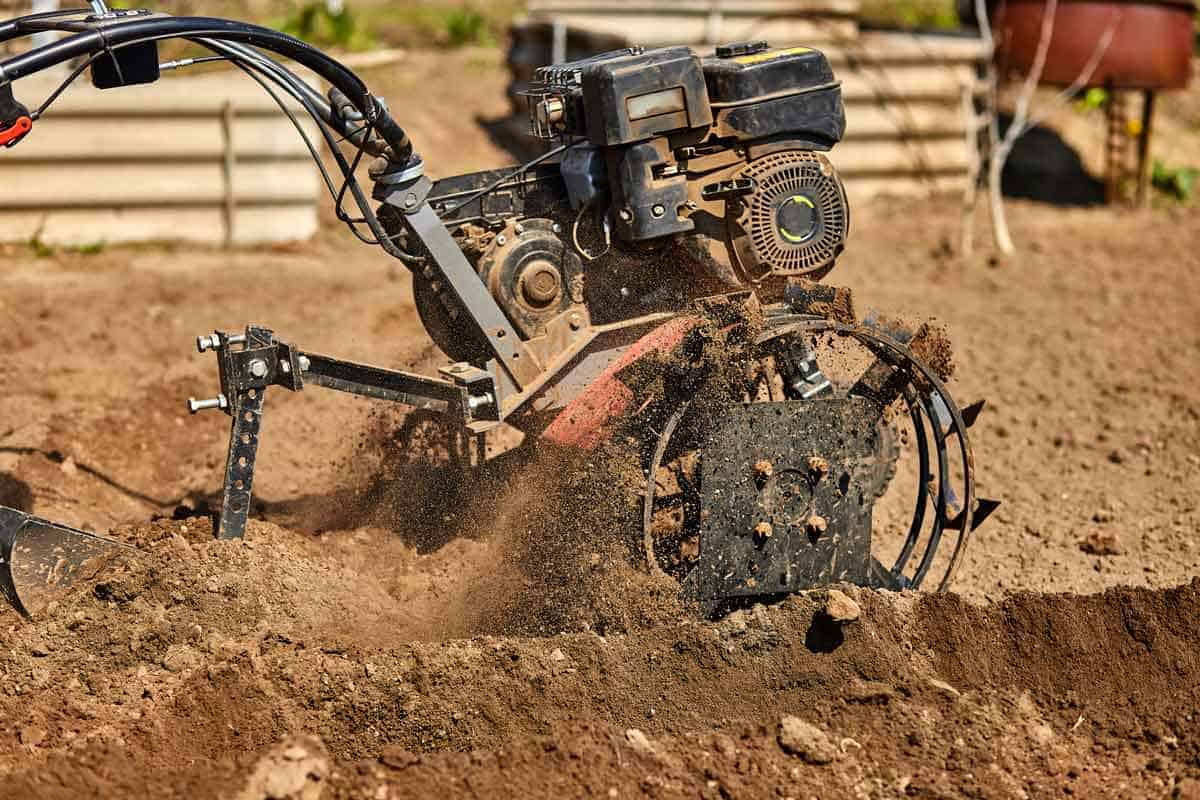
Prepare the Soil
Garlic grows in different soil types but prefers loosely packed and loamy soil with optimum nutrients, especially for large heads.
Loosen the soil using a digging fork and spread at least 2 to 3 inches of organic matter.
It’s best to plant them in raised garden beds when using heavier soil. The garden beds should be raised at least 10 to 12 inches and two to three feet wide.
Using poorly drained or compact soils can cause the cloves to develop badly or rot. When you plant your garlic, make sure there are at least 6 inches between them to encourage root growth.
How to Apply Fertilizers
You can apply fertilizers by broadcasting the entire bed or side dressing. You can do side dressing by placing the fertilizer 3-4 inches away from the stem.
Side dressing can be done by laying the fertilizer in a row on both sides of the plant a few inches from the stem.
On the other hand, broadcasting means evenly placing the fertilizer on the entire bed.
Garlic Fertilizer Requirements
Fertilizing should be divided into two or three separate applications. The first one would be before planting to help root growth. The second one would be during spring to encourage leaf and bulb growth.
And the third one 3-4 weeks after.
Here are the suggested application rates for garlic plants.
- 1 to 1.25 pounds of 19-19-19 fertilizer per 100 square feet of bed
- 2 pounds of urea (which is nitrogen-only fertilizer) per 500 square feet of bed
- 80 to 100 pounds of nitrogen per acre
Types of Fertilizers Used For Garlic
Like any other plant, garlic needs nutrients like nitrogen, phosphorus, and potassium. These three essential nutrients are critical for sound production.
Nitrogen is one of the vital nutrients required by the garlic plant. Nitrogen is essential in forming protein that makes up the tissues of the plant.
While phosphorus aids in the plant’s ability to use and store energy and photosynthesis. Commercial Phosphate used in fertilizers is usually source from phosphate rocks.
On the other hand, potassium helps the plant resist disease and helps increase crop yield and quality. Potassium also helps strengthen the garlic plant’s root system.
It’s crucial to have your soil tested before applying these fertilizers. For example, if the ground has high phosphorus, you can use high-nitrogen or nitrogen-only fertilizers.
You usually have to split the application of your balanced fertilizers 1/3 during planting and 2/3 during the growing period in spring. Be careful not to over fertilized your garlic plant with nitrogen because it may stimulate too much top growth and affect the development of the bulbs.
Using Organic Matter To Fertilize Garlic
Organic compost can be used as a primary fertilizer and soil conditioner. You can also use well-rotted animal manure. Incorporate and mix it into your planting bed.
Organic compost is usually made up of brown and green organic materials. Brown organic materials are twigs, manure, and dead leaves.
While green organic materials are fruit rinds, lawn clippings, etc.
How to Make Compost
An aged compost is usually a good mixture of green and brown compost. Making compost is easy, and you can do the following steps:
- Create a pile of equal layers of brown and green composting materials. Make sure the materials are shredded or cut into small pieces to speed up decomposition
- Spray water on each layer; you can also add compost inoculants to your water.
- Turn the pile using a digging fork or aerator tool every three days.
- Monitor the temperature of the pile and wait for the temperature to drop.
- When your composed is crumbly, dark, and does not have any foul smell anymore, then it’s ready to be applied to your plants..
Garlic can be divided into two general categories the hardneck and softneck garlic varieties.
Hardneck varieties often have a more hot flavor. On the other hand, softneck varieties have a mild taste. In addition, hardneck varieties produce woody flower stalk called “scape” while softneck types usually do not have one.
Garlic plants need utmost care and nutrients to develop healthy garlic roots and produce larger garlic heads. Proper fertilization and soil drainage are also necessary.
You can use the following tips to help you :
- It is essential to plant during fall since dormant garlic seeds need to be exposed to 32 to 50 degrees Fahrenheit for one to two months to have bulb formation. If you plant in spring, there will not be enough cold periods to produce bulbs of cloves.
- Only buy plant stocks from clean sources to prevent the introduction of nematodes in your garden.
- Garlic can tolerate a wide variety of soils but needs soil preparations, especially for large heads.
- If you want to have the biggest heads, you have to plant the biggest gloves. Larger gloves have more stored energy, so they can produce a larger bulb.
- There should be enough space between your vegetable crops. They will need extra space so they can have well-developed root systems. Plant cloves 4 to 6 inches apart in rows.
- A thick mulch can be applied after planting to help control winter annual weeds. After planting Mulch with 3-4 clean straw to help control soil temperature and improve soil structure.
- For hardneck varieties, remove the floral stems when they emerge to increase bulb size.
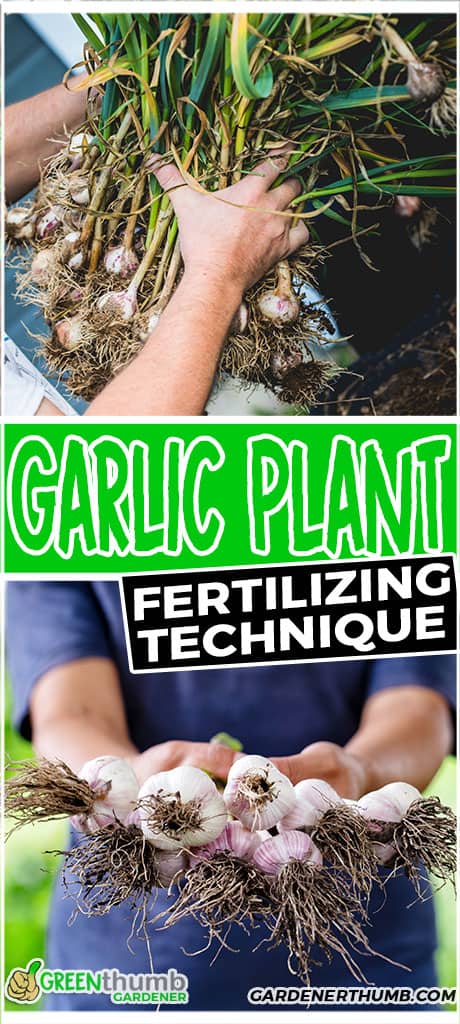
Harvesting and Storing Garlic
When at least 2 or 3 leaves turn yellow. or brown it’s a sign that the bulbs are ready for harvest. The best way to know if your garlic is ready for harvest is to pull one bulb and cut it crosswise.
They should have plump cloves. Check the skin covering if they are already dry, thick, and papery.
Dig out the mature bulbs and placed them In a well-ventilated, dark, and try place. This will protect them from freezing or high humidity. You can cure the garlic away from direct sunlight in a cool and dry location for 4-6 weeks to improve the flavor.
Do not store your garlic in the refrigerator because it may stimulate the sprouting of your garlic cloves. Garlic has a long storage life at 3 to 5 months. Properly keeping garlic can improve its storage life.
Don’t forget to select the biggest mature cloves for planting for the next season. Garlic works well if you do crop rotation with other vegetables.
Final Thoughts
It may take a while for your garlic to grow and become ready for harvest. But it’s worth the wait. Your garlic will be ready for your delicious dishes soon enough.
Meet Jeremy Starke
I've been growing vegetables since I was 12 — over 30 years in the dirt. I share what actually works in my own Zone 6b garden, and what I wish someone had told me when I started.
Zone 6b · North Carolina · Gardening since age 12 Read My Story →Frequently Asked Questions
When should you fertilize garlic?
Feed at planting in fall, then again in early spring as the green shoots take off. Stop feeding once the bulbs start sizing up in late spring.
What is the best fertilizer for garlic?
A nitrogen-rich feed early on drives the leafy growth that builds bigger bulbs. Switch to a balanced fertilizer as bulbing begins.
Should you fertilize garlic in spring?
Yes. An early-spring nitrogen boost when the shoots emerge fuels the leaf growth that determines bulb size. Ease off once bulbing starts.
![Best Fertilizer For Pumpkins [Grow Big Guide]](/wp-content/uploads/2021/03/best-fertilizers-for-pumpkins-00.webp)