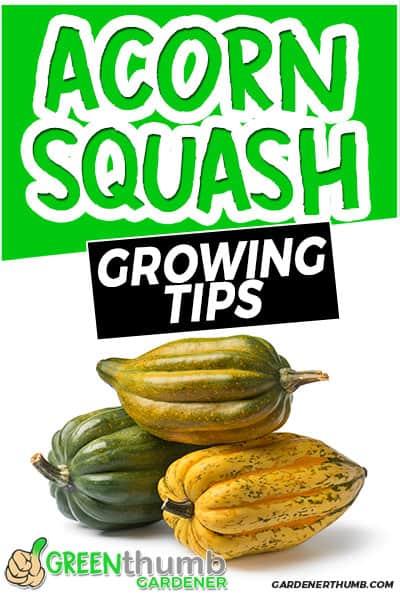
How To Grow Acorn Squash [Beginner Guide]
![How To Grow Acorn Squash [Beginner Guide]](/wp-content/uploads/2021/03/how-to-grow-acorn-squash-00.webp)

About the Author: Jeremy Starke
I've been growing vegetables since I was 12 — over 30 years in the dirt. I share what actually works in my own Zone 6b garden, and what I wish someone had told me when I started.
Zone 6b · North Carolina · Gardening since age 12Just think - this time next winter, you could be eating a home-grown acorn squash smothered in maple syrup. Acorn squash (Cucurbita Pepo) are easy to cultivate with a little know-how, nutrient dense, and store well in cool temperatures.
For the home gardener, learning how to grow acorn squash from seed is straightforward and well-worth the effort!
Growing Acorn Squash
Preparing
Select a corner of your garden that gets full sun for at least 6-7 hours a day for your acorn squash. Before planting, till the soil in this area several inches down. This ensures ample drainage and space for the plant’s roots to extend.
Acorn squash are heavy feeders and will appreciate it if you put down compost and fertilize the soil before planting. It’s also a good idea to avoid planting them where squash grew the previous year. The soil in these areas will not yet have recovered the nutrients that last year’s harvest used up.
Squash have a reputation for taking up space in the garden with their long, creeping vines. Fortunately, many common acorn squash varieties grow as bushes.
This means that they create a considerably smaller footprint in your garden without sacrificing production. Those that do grow as vines can be trained to a trellis and even planted in patio containers if you’re short on space.
Planting
Plant acorn squash at least two weeks after the last frost. The seeds will not germinate if the soil is below 65℉. While they can be started inside and transplanted outdoors, they may not thrive if their sensitive root system is disturbed.
Help them transition by starting them in a peat pot that can be planted directly into the soil.
In your garden, you can do the foillowing to get them started:
- Mound the soil into hills about 12” across and 3-4” high.
- Leave 3-5 feet of space between each hill, providing a total of about 9 square feet per plant.
- Using your fingers, poke 2-4 seeds into each hill.
- Once the plants reach 3” in height, thin them to one plant per hill.
To thin, snip off unwanted plants rather than digging them up to protect the remaining roots. If using containers, they should be at least 24" across and 14" deep.
Maintenance
After your acorn squash have sprouted, you can expect full-grown squash in 75-100 days. As they grow, they need approximately 1” of rain a week. If the soil is damp a few inches below the surface, wait to water the plant for another day or two.
When you water the plant, do so slowly and near the ground.
To ensure a good harvest, make sure that your acorn squash plants are well-pollinated. They will produce large yellow flowers that have either pistons or humps. Humps are just below the flower where the fruit will eventually grow.
After both types of flowers begin to appear, check to make sure there are lots of bees buzzing around. If there aren't, drag a paintbrush gently from flower to flower to hand pollinate.
Pests and Disease
- Striped cucumber beetles - These will go after very young squash plants and can survive in the soil over the winter. If you’ve noticed them in prior years, treat the area with an insecticide early in the season.
- Squash bugs - These will eat the leaves of your plant. Keep the ground free from dead leaves and debris that these bugs can hide under. Treat with an insecticide as soon as you notice them. Once these bugs begin to spread, they can be very difficult to remove.
- Squash vine borers - These lay their eggs near the stems of squash plants. After hatching, the larvae burrow into the vines of the plants, leaving a tell-tale pile of 'sawdust' behind them. If you suspect squash vine borers, treat the soil around the base of the plant to eliminate larvae before they bore into the plant.
Harvesting Squash Tips
Winter squash - like acorn, butternut, and pumpkin - develop a thick, hard skin that will protect them for storage over the winter.
These winter squash will not continue to ripen after they have been harvested, so the longer you can give them ripen on the vine, the better they will taste and keep!
Harvest acorn squash before the first hard frost. As cooler weather begins to set in, test your acorn squash for ripeness by pressing a fingernail into the skin.
If you can easily scrape or dent the skin, leave the squash on the vine. If the skin stays intact, the fruit can be harvested. That said, try to leave it for another week or two after this if you can.
The ideal time to harvest is when the vines begin to dry out.
On harvest day, do not twist or pull your acorn squash from the vine. Use a sharp knife to cut the stem, leaving 1" or more attached to the squash.
If possible, leave squash spread out in the sunshine for up to a week to cure them. If this is not possible, find a warm corner of the house where they can cure. There is some evidence that dipping acorn squash in hot (not boiling!) water for 15 seconds can also extend its shelf life.
Spread your acorn squash out in a cool, dark space for long-term storage. Basements, sheds, and closets all work great. Keep them dry, and they will stay good for 2-3 months.
Final Thoughts
Acorn squash are a fantastic addition to your home garden. They're hardy and fast-growing, and it's fun to watch their explosive growth over a season.
Now that you have all the info you need to grow and harvest a great crop, you just have to decide whether you want to turn your delicious home-grown acorn squash into sweet or savory dishes! Before you do, it's worth learning how to save squash seeds from your best fruit so next year's crop is free.

Meet Jeremy Starke
I've been growing vegetables since I was 12 — over 30 years in the dirt. I share what actually works in my own Zone 6b garden, and what I wish someone had told me when I started.
Zone 6b · North Carolina · Gardening since age 12 Read My Story →Frequently Asked Questions
How long does acorn squash take to grow?
About 80 to 100 days. The squash is ready when the skin is hard and the patch touching the ground turns orange.
How much space does acorn squash need?
A lot, since it vines widely. Give each plant 3 to 4 feet, or grow it up a sturdy trellis to save ground space.
How do you know when acorn squash is ripe?
The rind turns deep green and hard, and the ground spot shifts to orange. A ripe squash resists a fingernail press.