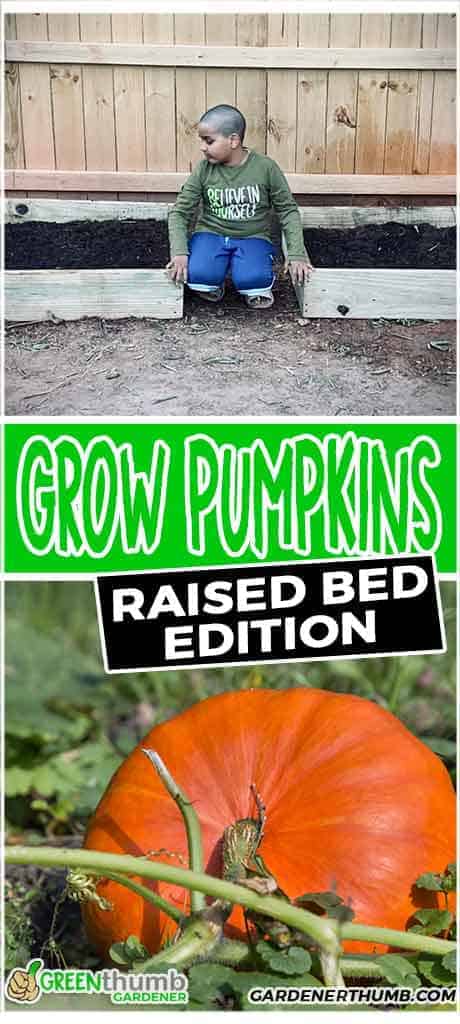
Growing Pumpkins In Raised Beds [Best Guide]
![Growing Pumpkins In Raised Beds [Best Guide]](/wp-content/uploads/2020/09/growing-pumpkins-in-a-raised-beds-00.jpg)

About the Author: Jeremy Starke
I've been growing vegetables since I was 12 — over 30 years in the dirt. I share what actually works in my own Zone 6b garden, and what I wish someone had told me when I started.
Zone 6b · North Carolina · Gardening since age 12I’ve had quite an experience using raised beds for my gardening activities. So, I decided to try something new in pumpkins.
While I had fun, there were loads of gray areas about growing pumpkins in raised beds. So, as always, I did some digging up and came across loads of helpful information.
I bet you’re wondering what they are. Well, let’s find out.
Best Types of Pumpkins to Grow In A Raised Bed
Just before you go planting, you’ll need to make a choice. I had to myself after realizing the wide range of available pumpkin varieties.
For your choosing, here are five of my top picks.

1. Hybrid Pam Pumpkins
If you’re looking to plant an heirloom type of pumpkin, then this might be your best bet.
It yields medium-sized pumpkins that you can use for pies. And this is thanks to its high sugar content. I grow it to satisfy my sweet tooth, you too can.
2. New England Cheddar Pumpkin
If you’re looking to plant an heirloom type of pumpkin, then this might be your best bet.
It yields medium-sized pumpkins that you can use for pies. And this is thanks to its high sugar content. I grow it to satisfy my sweet tooth, you too can.
3. Knucklehead Pumpkin
This variety is also unique thanks to warts lying on its body.
You’ll get this variety having two colors. You get green thanks to warts and orange on other parts of your fruit.
They grow as much as 20 pounds, making them fit for your scare duties.
4. Crystal Star Pumpkin
This variety comes off as white. As such, you’ve got a great option on your hand if you’re looking to win the best Halloween costume.
I bet you find white more ghostly than orange too.
5. Blue Doll Pumpkin
If you’re looking to go all mysterious, then you’ll find the blue doll quite useful.
With this option, you get a combination of green and yellow. The green appears outside while the orange from its inside.
Usually, it can grow to reach 20 pounds, which is wow. And, yes, you can always cook it.
For instance, the orange side works well for pasta or salad dishes. You can also use it for your pie recipes. It has quite the sugar content like the New England Cheddar.
Best Time to Plant Pumpkins in A Raised Bed
As with every plant or veggie, timing is essential. You plant too early, and your veggie might not germinate. You plant too late, then you might not get the best yield before the plants die off.
Well, that’s why you need to consider when to plant your pumpkin in your raised bed.
When it comes to pumpkins, they love the sun. And, as such, they need the sun to grow properly.
You get them into a cold area, and you can be sure to record a poor experience. As such, you’ll need to sow your seeds when you know they can get access to sun and heat.
Well, what better time than during summer. So, sow your pumpkin seeds either during late spring or early into summer. This way, you give them enough time to access the sun rays they need.
Typically, it will take between 95 and 120 days before your pumpkin matures. That is, it takes a minimum of three months. So, by starting late May or early June, you give your pumpkin access to three-month constant sunlight.
However, you must know that if you’re making a pumpkin for Halloween. Then, you might want to delay planting until July. This will ensure that by the time the growing season lapses, it falls right into Halloween.
You might have a short growing season within your area. Then, all you need to do is get the seedlings immediately after the final frost.
Alternatively, you can sow your seeds some 3 or 4 weeks before the last frost indoor. Then, after the last frost and your seed must have germinated, you can then take them to the raised beds.
Ideal Soil Condition for Growing Pumpkins in Raised Beds
It’s vital to consider your soil condition before getting to planting your pumpkin.
One thing you’ll need to consider is your soil temperature. For you to record good growth, your soil must have a temperature reading a minimum of 70 degrees Fahrenheit.
Your soil will also need a bit of fertilization for the best effect. So, add some layer of compost to your raised bed.
You can also check for weeds in your bed. And ensure you remove them with your hands, not through herbicides or burning.
Step 4: Water Your Plants
You’ll need to water your plants regularly. Keep in mind the tips we already discussed above.
Remember how best to water your plants, when to water your plants, and how much water to provide.
Step 5: Pollinate the Blossoms
Usually, the male flowers will come first while the female flowers a week afterward. You’ll know the female flowers are out as they have a swollen base looking like a small pumpkin.
Then, your pumpkin needs bees for their pollination. However, you might notice that there’s no bee in your garden. Then, all you need to do is self-pollinate.
Remember that this will be in the morning when your flowers are open. This is because your flowers remain open for only half of the day.
For you to do this, get an artist’s brush, and wear some gloves. Then, gather pollen from the male flower with the brush. Afterward, brush the center of your female flowers with the same brush. However, while doing this, ensure you exercise care.
Step 6: Fertilize & Thin
Next up is fertilizing and thinning. And this happens a week after the blossom appears.
At this stage, what you’ll need to do is side-dress your pumpkin’s vines using fertilizers. And you’ll do this by spreading your fertilizers very close to the pumpkins. This way, your roots can benefit from it.
Then, as soon as you get around four fruits, go on to change your row cover. Also, it would be best if you thin your vines with a pruning shear just before that.
Tips for Harvesting Pumpkins in A Raised Bed
Like I stated already, your pumpkin should be ready for harvest within the third and fourth months. Just for you to be sure, check out your fruit’s color in line with their variety.
Then, get a cutting blade. You’ll use it to cut the fruit stem from its vine. Also, ensure that there’s a minimum of 3 or 4 inches of stem left with the fruit. With this, you’re good to go.
It would be best if you remembered to harvest before the frost comes. This is because the frosts will do more harm than good.
So, as soon as the frost is on their way, harvest your pumpkins. You can then store them somewhere dry and cool.
Final Thoughts
Your pumpkin and raised bed are a great combination. But that’s if you have the right information.
That’s what I’ve done. I’ve covered all you need to know about growing pumpkins in raised beds.
So, get to growing your pumpkins. And enjoy that sweet pie or Halloween scare.
Meet Jeremy Starke
I've been growing vegetables since I was 12 — over 30 years in the dirt. I share what actually works in my own Zone 6b garden, and what I wish someone had told me when I started.
Zone 6b · North Carolina · Gardening since age 12 Read My Story →Frequently Asked Questions
How Much Space Does A Pumpkin Plant Need?
You should keep your rows between 6 and 8 feet from each other, while seedlings should be thinned over 2 feet. For bush varieties, keep your rows between 4 and 6 feet from each other.
Can You Grow Pumpkins In a 5 Gallon Bucket?
Yes, although it would be best to go for sugar pie varieties in a 5-gallon bucket. However, your pumpkin might overtake the container in time.
What to Put Under Pumpkins While Growing?
Put a piece of cardboard or wood under your growing pumpkin. This will enable it to stay safe from the soggy oil, which causes rot.
How Long Does It Take Pumpkins to Grow?
Your pumpkin will take around three months for it to reach maturity. Although, based on its variety, it can extend to as much as four months.