How to Make Compost: Step By Step [Epic Guide]
![How to Make Compost: Step By Step [Epic Guide]](/wp-content/uploads/2020/12/how-to-make-a-compost-step-by-step-00.jpg)

About the Author: Jeremy Starke
I've been growing vegetables since I was 12 — over 30 years in the dirt. I share what actually works in my own Zone 6b garden, and what I wish someone had told me when I started.
Zone 6b · North Carolina · Gardening since age 12Black Gold is what they call it. If you are doing some sort of gardening, you can agree with me on the importance of compost. But are you well acquainted with how to make compost step by step?
With a small garden in my yard, I had always found a way of disposing of my kitchen refuse and leftovers.
However, they were always messy and produced a foul smell. I knew of the health issues that could arise if I never found a way of addressing the issue.
Dig in to learn how to make compost step by step, from my personal experience and deep research on the topic.
What is Composting?
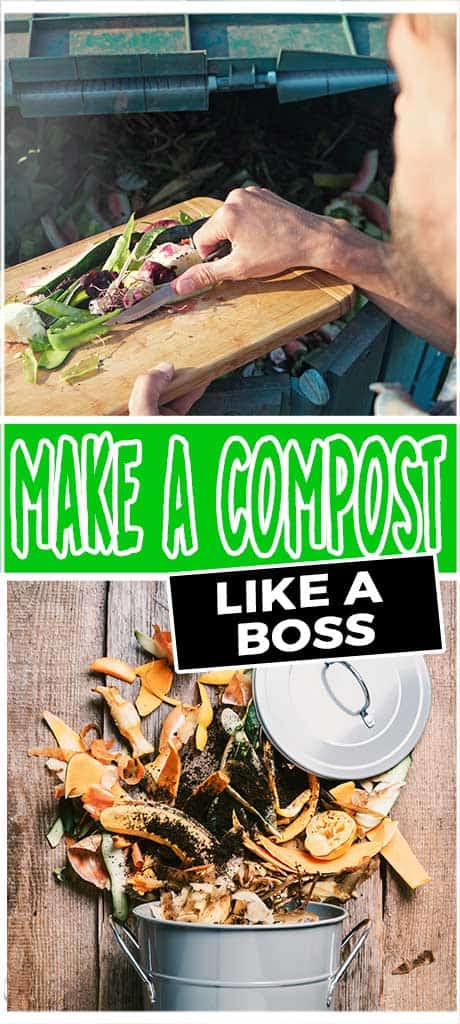
Generally, composting involves decomposing organic matter in the presence of air to come up with natural fertilizer which is also known as compost.
Since it works with waste, you can make good use of your kitchen refuse. That heap that always worries you and how to dispose of it can now be recycled to make it useful.
How can composting affect the environment?
Composting basically transforms what otherwise was used as trash into black gold.
Kitchen refuse and leftovers when left in the open, they emit methane, a gas that can promote climate change. Composting greatly controls these emissions.
Besides, the use of compost manure eliminates the need for chemical fertilizers. Additionally, EPA has come out with study findings that show the capability of compost manure to capture up to 99 percent of volatile organic compounds (VOC) from the air.

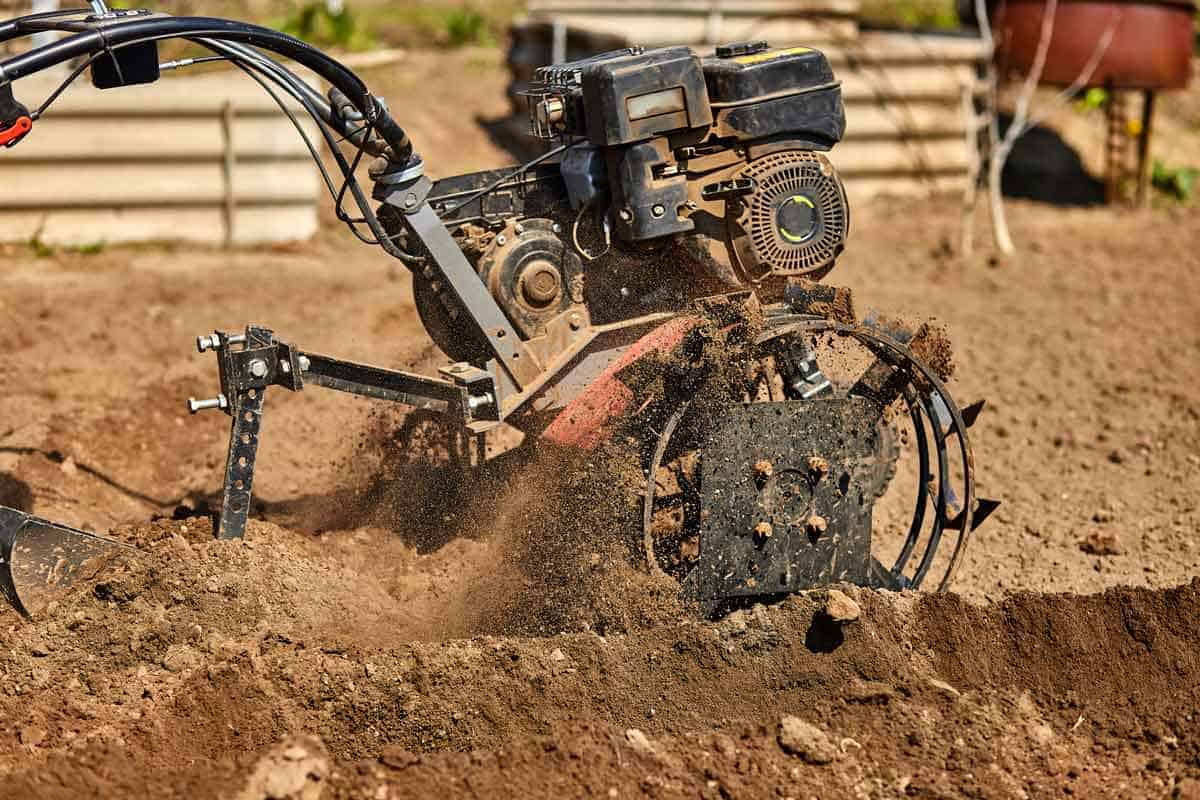
Additionally, compost is crucial to farmers and gardeners. It is mostly used before or when planting new seedlings, because of its high water retention ability. This means you will spend less in watering your seedlings.
Likewise, compost is great in flower gardening and the whole process of crop production. It keeps the soil rich as it minimizes irrigation at the same time.
Can Composting go wrong?
Absolutely! If you do it wrong, you might end up with messy and smelly compost. Sometimes, the compost wetness or dryness can exceed. It can also get too old if left for long.
You can fix excess dryness by adding a little water. You can also remedy wetness by adding and mixing dry organic matter to absorb the excess liquid.
You do not have to worry about too old compost. Just add the old compost into fresh compost and watch it as you get rich manure.
3 Types of Composting
There are three common types of composting you can use. You can choose to use any of these types of composting.
It all depends on your circumstances, such as the time that you want your compost ready and the availability of the composting ingredients.
1.| Hot Composting
This is the quickest way of making organic manure for your garden. It involves preparing a big pile of organic materials. You have to gather all the ingredients that you need before kick-starting the process at once.
Usually, the temperature in this compost goes up to 160 degrees Fahrenheit with an average temperature ranging between 110 degrees Fahrenheit to 140 degrees Fahrenheit.
This temperature is too high for the survival of microorganisms causing disease and weed seeds.
In hot composting, you do not need to turn the materials to get the heat to be evenly distributed. With the right procedure, you will have your compost manure in just three weeks.
Consider piling your materials in the right size, and properly arranging your ingredients in the layers for a successful hot composting.
2.| Cold Composting
Unlike hot composting, cold composting takes a longer period to decompose. This may seem practical for the gardeners who have to gather their materials daily as it does not require all the ingredients all at once as the hot composting.
Cold composting can take up to 18 months before it gets ready to be used as manure. Since it decomposes at a low temperature, weed seeds don't die. You are required to weed before allowing them to produce seeds.
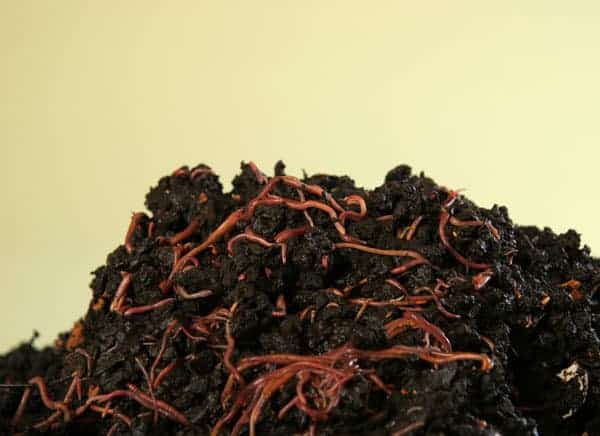
3.| Worm Composting
Worm composting is another type of composting where worms, oxygen, and moisture are used to break down organic material safely.
Most people who prefer this type of composting are drawn by the process that yields almost odorless manure. In other words, the manure normally smells earthy.
Just like hot compost, this compost doesn’t require to be turned frequently. You can take a few minutes a week in maintaining the compost.
If you also engage in fishing, this compost will provide plenty of fish bait for you
Step By Step Compost Guide
What Can and Cannot Be Composted?
Are you curious about every common material recommended for composting and the ones to avoid? Here is a list of materials you can use and later the ones you should avoid completely.
What Can Be Composted
There are two main categories of materials to add to your compost. They include the following;
Nitrogen-rich waste
This includes most green materials such as:
- Grass clippings
- Nettle leaves
- Vegetable peelings
- Fruit peelings
- Annual weeds
- Nettle peelings
- Coffee groundnuts
- Young live fence trimmings
Carbon-rich Waste
This includes brown materials such as;
- Hay and straw
- Woody pruning
- Tea bags
- Paper
- cardboard
- Sawdust
- Leaves
- Pet bedding
What Cannot Be Composted
There are those materials that you should avoid. These materials may negatively affect the health of your compost.
For example, dairy products exclude oxygen that essential organisms need slowing down the process of composting. These materials include the following.
- Perennial weeds
- Raw meat or bones
- Dairy products
- Poultry and fish
- Whole eggs
- Cooked foods
- Diseased plants
- Human, Cat, or dog excretions
- Gloss
- Treated wood
Final Thoughts
No matter the method of composting you may choose and with the correct steps, you will end up with eco-friendly manure.
I have shared everything you need to know from my experience and extra research on how to make compost step by step to help you do it exceptionally at home.
Keep the crucial points in mind and make good use of leftover and old logs in your compound to produce the best natural fertilizer.
Meet Jeremy Starke
I've been growing vegetables since I was 12 — over 30 years in the dirt. I share what actually works in my own Zone 6b garden, and what I wish someone had told me when I started.
Zone 6b · North Carolina · Gardening since age 12 Read My Story →Frequently Asked Questions
How do you make compost?
Layer green material like food scraps and grass with brown material like leaves and cardboard, keep it moist, and turn it for air. It breaks down into dark, crumbly compost.
How long does compost take to make?
Hot, well-managed piles can finish in a few weeks to a couple of months, while cold piles take six months to a year. Turning and the right mix speed it up.
What can you not compost?
Avoid meat, dairy, oily food, pet waste, and diseased plants, which attract pests or spread problems. Stick to plant scraps, yard waste, and paper.
![Best Fertilizer For Pumpkins [Grow Big Guide]](/wp-content/uploads/2021/03/best-fertilizers-for-pumpkins-00.webp)